How to Compress Images Without Losing Quality (2026 Guide)
How to Compress Images Without Losing Quality (for Websites, WhatsApp and Email)
Most images are three to ten times bigger than they need to be. Here's how to shrink them properly — the right size, the right format and the right quality setting.
A photo from a modern phone is often 4000 pixels wide and 3–8 MB. Put a few of those on a website and the page crawls. Send them on WhatsApp and they get squashed anyway. Attach twenty to an email and it bounces.
Open all four studios free — no card, nothing to install.
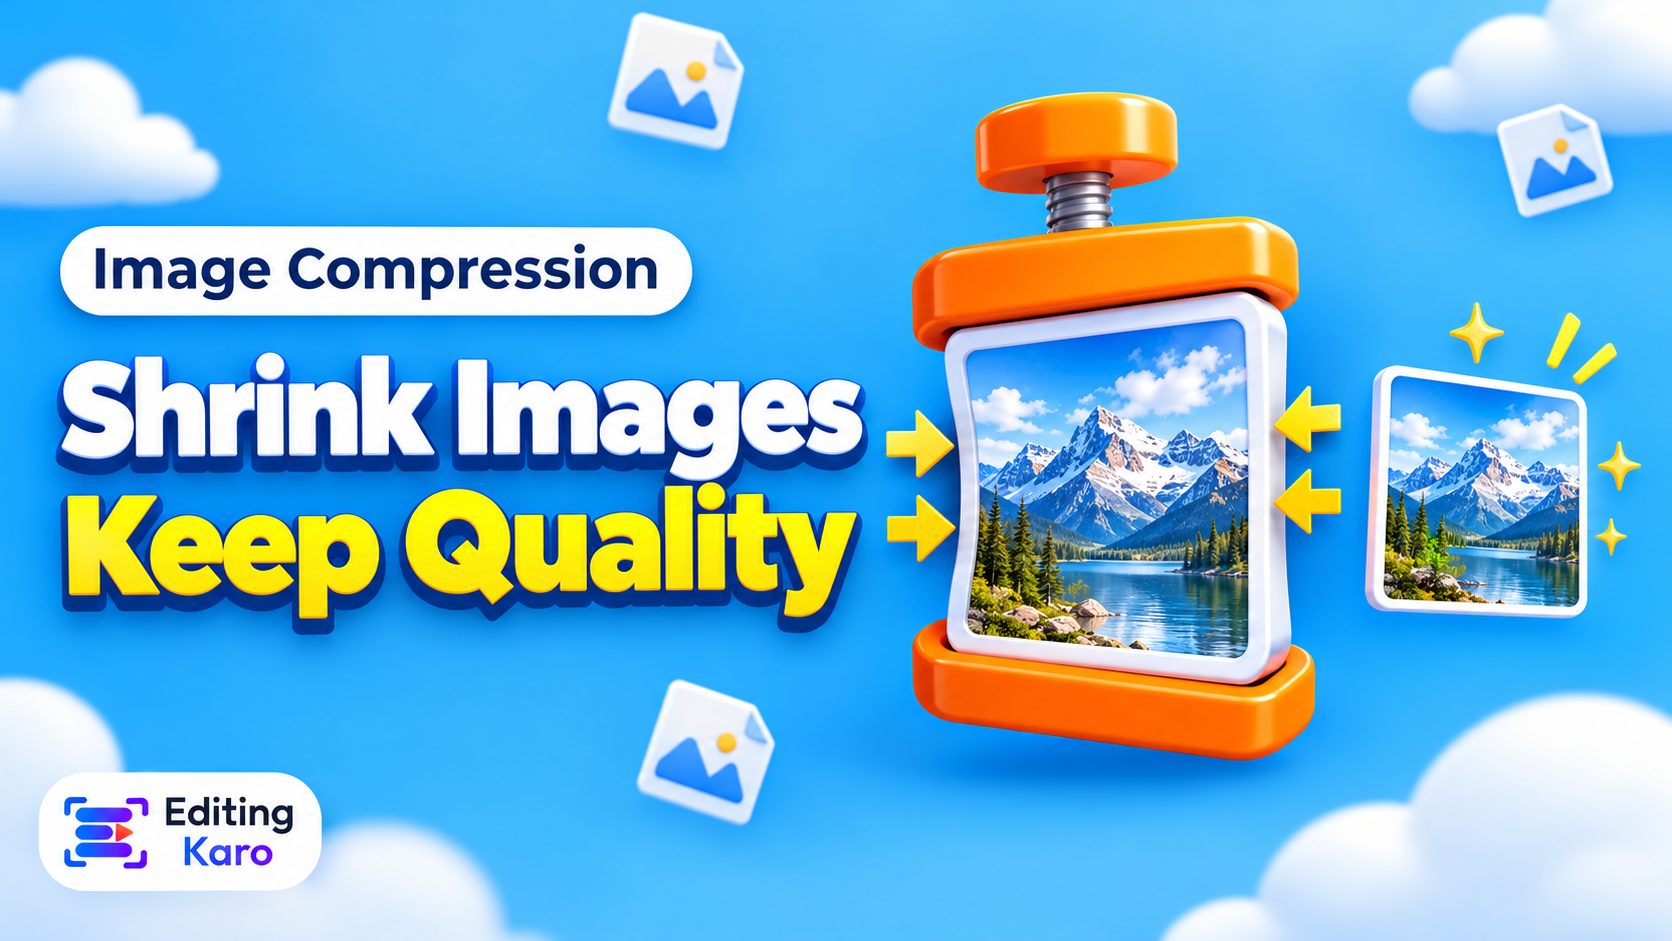
Compressing images isn't about accepting worse quality. Done properly, the smaller file looks identical — you've just stopped sending pixels nobody sees.
The two levers: size and quality
Every image file is shaped by two things:
1Dimensions — how many pixels wide and tall it is.
2Encoding — the format (JPG, PNG, WebP) and quality setting.
Most people only touch the second. But the first is usually where the big savings are.
Step 1: Resize to the size it's actually shown
If an image is displayed 1200 pixels wide on your website, a 4000-pixel original sends more than ten times the pixels the browser needs — and the browser throws the extra away. Cutting the dimensions to fit is the single biggest saving, often 70–90% on its own.
Good maximum widths:
Where it's used
Max width
Full-width website banner
1920–2560 px
Blog or product image
1200–1600 px
Thumbnail or card
600–800 px
Instagram post
1080 px
Email body image
600–1200 px
On high-resolution screens, 2× the displayed width keeps things crisp — so a 600 px card image might be saved at 1200 px. Beyond that you're wasting bandwidth.
Step 2: Pick the right format
Format
Best for
Transparency
Notes
WebP
Websites — photos and graphics
Yes
Usually the smallest file at the same quality
JPG
Photos for email, print, older software
No
Works everywhere
PNG
Logos, screenshots, text-heavy graphics
Yes
Lossless — large for photos
The most common mistake is saving photos as PNG. A photo saved as PNG can easily be five times larger than the same photo as JPG, with no visible difference.
Step 3: Choose a quality setting
JPG and WebP are "lossy": they throw away detail your eye is unlikely to notice. The quality slider controls how much.
85–92%: for portfolios and product photos where quality matters most.
75–85%: the sweet spot for most website and social images.
Below 70%: visible artefacts start appearing, especially around text and sharp edges.
The only reliable test is your eyes. Compare the original and compressed versions side by side at 100% zoom. If you can't spot the difference, go a little lower; if you can, go back up.
Tip: Never compress an already-compressed image again and again. Each round of JPG compression adds new artefacts. Always compress from the original.
Compressing for specific places
Websites
Images are usually the heaviest part of a web page, and page speed feeds into Google's Core Web Vitals. Resize to the display width (×2 for sharp screens), use WebP at 75–85%, and lazy-load anything below the first screen. The biggest image at the top of the page matters most — it decides how fast the page feels.
WhatsApp
WhatsApp compresses photos itself when you send them normally. You'll get better-looking results by sending an image that's already the right size (around 1600–2048 px on the long side) than by sending a huge original and letting WhatsApp squash it. For sharing exact files — say, a print-ready design — send it as a document instead.
Email
Many email services limit attachments to around 20–25 MB in total. Resize photos to 1600–2000 px on the long side and save as JPG at 80%: most will land well under 1 MB each, so you can attach dozens.
Compress without uploading your photos
Many online compressors upload your images to their servers. For personal photos, client work or anything confidential, that's a risk you don't need to take.
Our free image compressor runs entirely in your browser: nothing is uploaded, and it handles many images at once. Pick a format, set the quality, cap the maximum size, and see the exact saving for every file before downloading them individually or as a ZIP. It also strips location data from photos as a side effect.
If you need an exact size rather than a smaller file — say, 1080 × 1350 for Instagram — use the image resizer instead.
Checklist
Resize to the displayed size (×2 for retina), not the camera size.
Photos → WebP (web) or JPG (everywhere else). Graphics and logos → PNG or WebP.
Quality 75–85% for most uses; check by eye.
Compress from the original, once.
Keep originals safe — compress copies.
Frequently asked questions
What's the best quality setting for JPG or WebP?
75–85% for photos on the web. Below about 70% you start to see blocky artefacts around edges and text; above about 92% the file grows quickly for little visible gain.
Is WebP better than JPG?
For websites, usually yes — WebP files are typically noticeably smaller at the same visual quality and support transparency. JPG is still the safest choice for email, printing and older software.
Why didn't my PNG get smaller?
PNG is lossless, so there's no quality setting to lower. Make it smaller by reducing its dimensions, or convert photos saved as PNG to WebP or JPG.
Does compressing remove location data from photos?
Re-encoding an image in the browser (as our compressor does) drops EXIF metadata, including GPS location and camera details — useful before sharing photos publicly.
EK
About the author
Editing Karo Team
Designers, video editors and writers behind Editing Karo
We're the people who build Editing Karo's four studios — designers, video editors, writers and engineers based in Delhi. We spend our days making social posts, thumbnails, reels and captions, and watching what helps creators and small businesses get them out faster. Every guide here is written from that work: tested in our own tools, checked against each platform's current rules, and updated when those rules change.