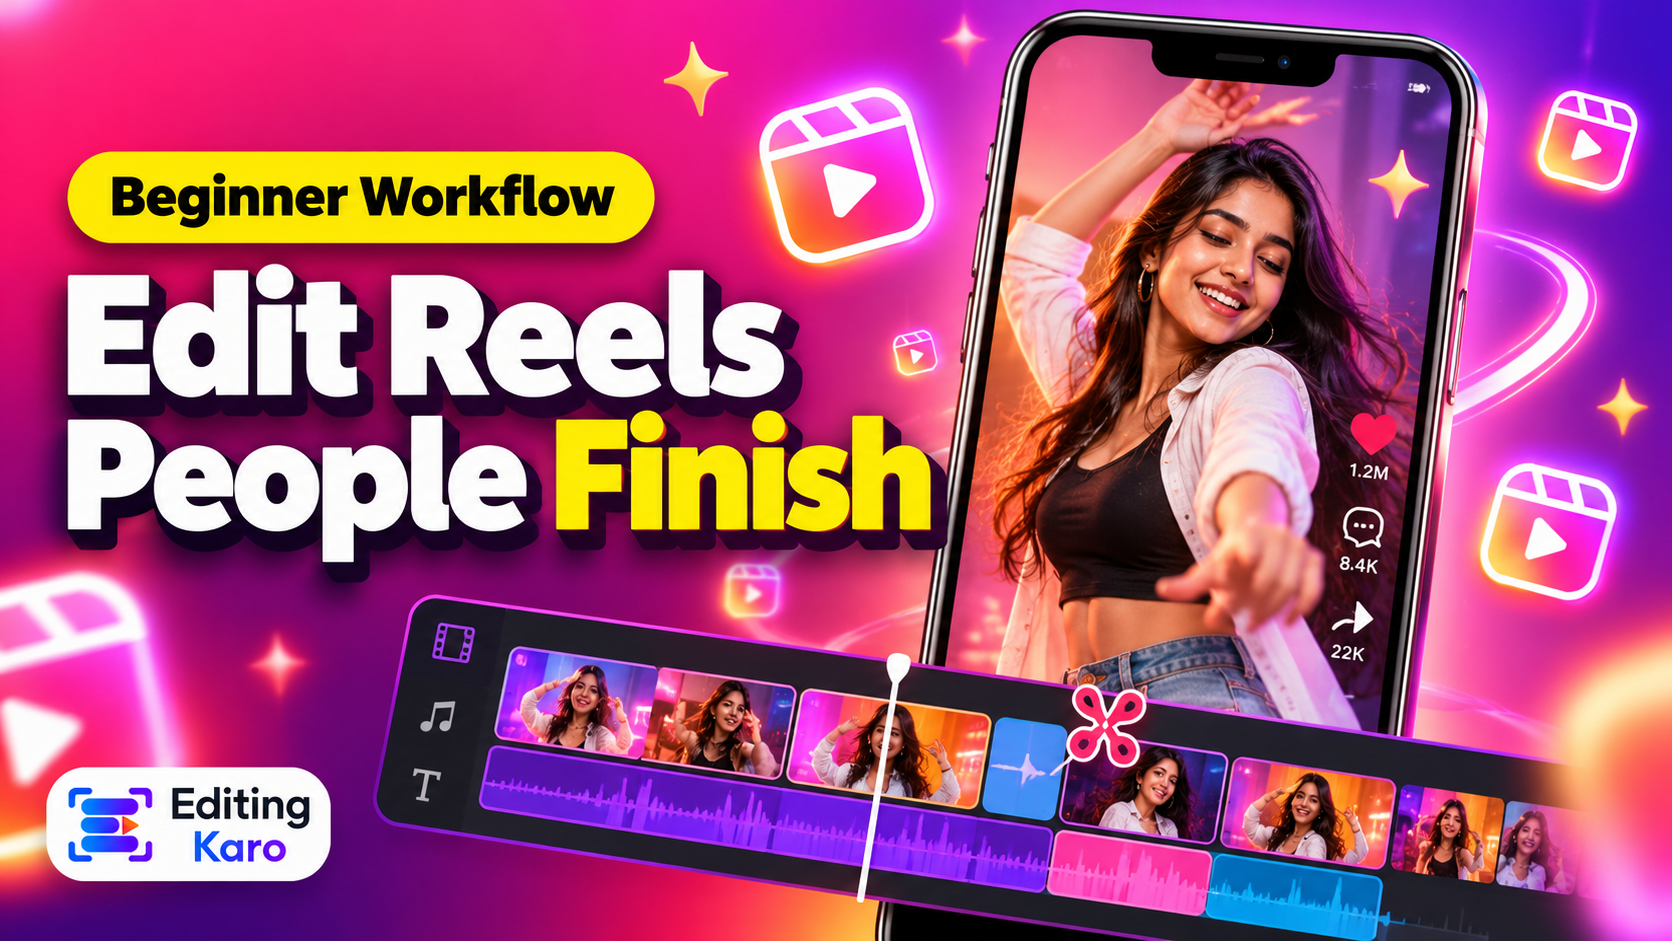
How to Edit Instagram Reels: A Beginner's Workflow (2026)
How to Edit Instagram Reels That Keep People Watching: A Beginner's Workflow
A simple, repeatable way to edit Reels — hook in the first two seconds, tight cuts, on-screen captions, sound and a cover that works in your grid — no editing experience needed.
Most Reels don't lose viewers because they're boring. They lose them in the first two seconds, before anything has happened. By the time the good part arrives, the viewer has already swiped.
Open all four studios free — no card, nothing to install.
Editing a good Reel isn't about fancy transitions. It's about removing — every slow start, pause, repeated sentence and moment that doesn't move things forward. Here's a workflow you can use for any kind of Reel: tips, product demos, recipes, behind the scenes or talking to camera.
Step 1: Know your point before you film
Write one sentence: "By the end of this Reel, the viewer will know / see / feel ___."
"How to tie a saree in 60 seconds." "What our new candle looks like lit at night." "The one lighting mistake that makes food photos look flat."
That sentence decides your hook, what you keep and what you cut. If a clip doesn't serve it, it goes.
Step 2: Shoot more than you need, vertically
Film in 9:16 vertical, ideally 1080 × 1920 or higher.
Keep each shot short: 2–5 seconds of useful action.
Get a few angles of the same moment — close-up, wide, hands.
Shoot in good light; a window beats any filter.
If you talk to camera, record the whole script and a few alternative first lines.
Step 3: Build the hook first
The first 1–2 seconds decide whether people stay. Strong hooks:
Show the result first — the finished dish, the transformation, the final look — then show how.
Say the promise out loud and on screen: "3 things I wish I knew before starting a candle business."
Start mid-action — hands already working, not you walking into frame.
Ask a question people are already asking.
Put your hook clip at the very start of the timeline, even if it happened last.
Tip: Put the hook as big text on screen as well as saying it. A large share of people scroll with the sound off.
Step 4: Cut tightly
Now trim. Be ruthless:
1Cut the start and end of every clip — the second before the action starts and after it finishes.
2Remove every "um", pause and breath between sentences when talking to camera.
3Cut on action — change shots while something is moving; it hides the cut.
4Vary the rhythm: a few quick cuts, then a slightly longer moment to let something land.
5Watch it back once at full speed. Anywhere your attention drifts, cut more.
A 60-second first edit that becomes a 30-second final edit is normal — and usually better.
Step 5: Add captions and text
If anyone speaks, add captions. Keep them:
Short — a few words on screen at a time.
Big and high-contrast — white text with a dark outline or a dark box behind it.
In the safe zone — centred and slightly above the middle, away from the bottom ~20% (caption and username) and the right edge (like, comment and share buttons).
Word-by-word or line-by-line captions that highlight as they're spoken help keep eyes on the screen. Motion Studio can add read-along captions that fill with colour as each word is spoken.
Step 6: Sound: music, voice and balance
If you're speaking, your voice must be clear; keep music quiet underneath.
Use music to set the pace — cut to the beat for montages.
Trending audio can help discovery, but only if it suits the content.
Check the mix on phone speakers, not just headphones.
Step 7: End on time
When the point is made, end. A quick final line — "Save this for later", "Part 2 tomorrow", or the product and price — then stop. Long outros are where viewers leave, and leaving before the end tells Instagram the Reel wasn't worth finishing.
Step 8: Export correctly
Setting
Value
Resolution
1080 × 1920
Ratio
9:16
Frame rate
30 fps (or what you filmed at)
Format
MP4 (H.264)
Export at a high quality and let Instagram do the final compression. Exporting a blurry file won't look better after Instagram compresses it again.
Step 9: Make a cover that works in your grid
Your profile grid shows Reels cropped to the central 3:4 of the frame. Design the cover at 1080 × 1920 with the title and subject in that central area, so it looks right in the grid as well as the Reels tab. More on the grid crop in our Instagram size guide.
The whole workflow on one page
1One-sentence point.
2Shoot short vertical clips, a few angles.
3Hook in the first 1–2 seconds — result, promise or mid-action.
4Cut every pause and slow moment.
5Captions: short, big, in the safe zone.
6Voice clear, music underneath.
7End as soon as the point lands.
8Export 1080 × 1920 MP4.
9Cover that works cropped to 3:4.
Edit in your browser
Motion Studio runs in the browser — no install. Drop in your clips, split and trim on the timeline, add titles, read-along captions and music, and export at 1080 × 1920. Design your cover in Pixel Studio, and let Content Studio write the caption — then check its length with the free caption character counter.
Frequently asked questions
How long should an Instagram Reel be?
Reels can be up to 3 minutes, but most short tips, product demos and moments work best between 15 and 45 seconds. Make it as long as the content needs and no longer.
What size should I export Reels at?
1080 × 1920 pixels (9:16), usually as MP4 at 30 frames per second. Keep text and faces away from the bottom and right edges, where Instagram's interface appears.
Do I need captions on Reels?
Yes, if anyone speaks. Many people watch with the sound off, and on-screen captions also help people follow fast speech or accents.
Can I edit Reels without installing software?
Yes. Browser-based editors like Motion Studio let you trim, add titles and captions, add music and export 1080 × 1920 video without installing anything.
EK
About the author
Editing Karo Team
Designers, video editors and writers behind Editing Karo
We're the people who build Editing Karo's four studios — designers, video editors, writers and engineers based in Delhi. We spend our days making social posts, thumbnails, reels and captions, and watching what helps creators and small businesses get them out faster. Every guide here is written from that work: tested in our own tools, checked against each platform's current rules, and updated when those rules change.